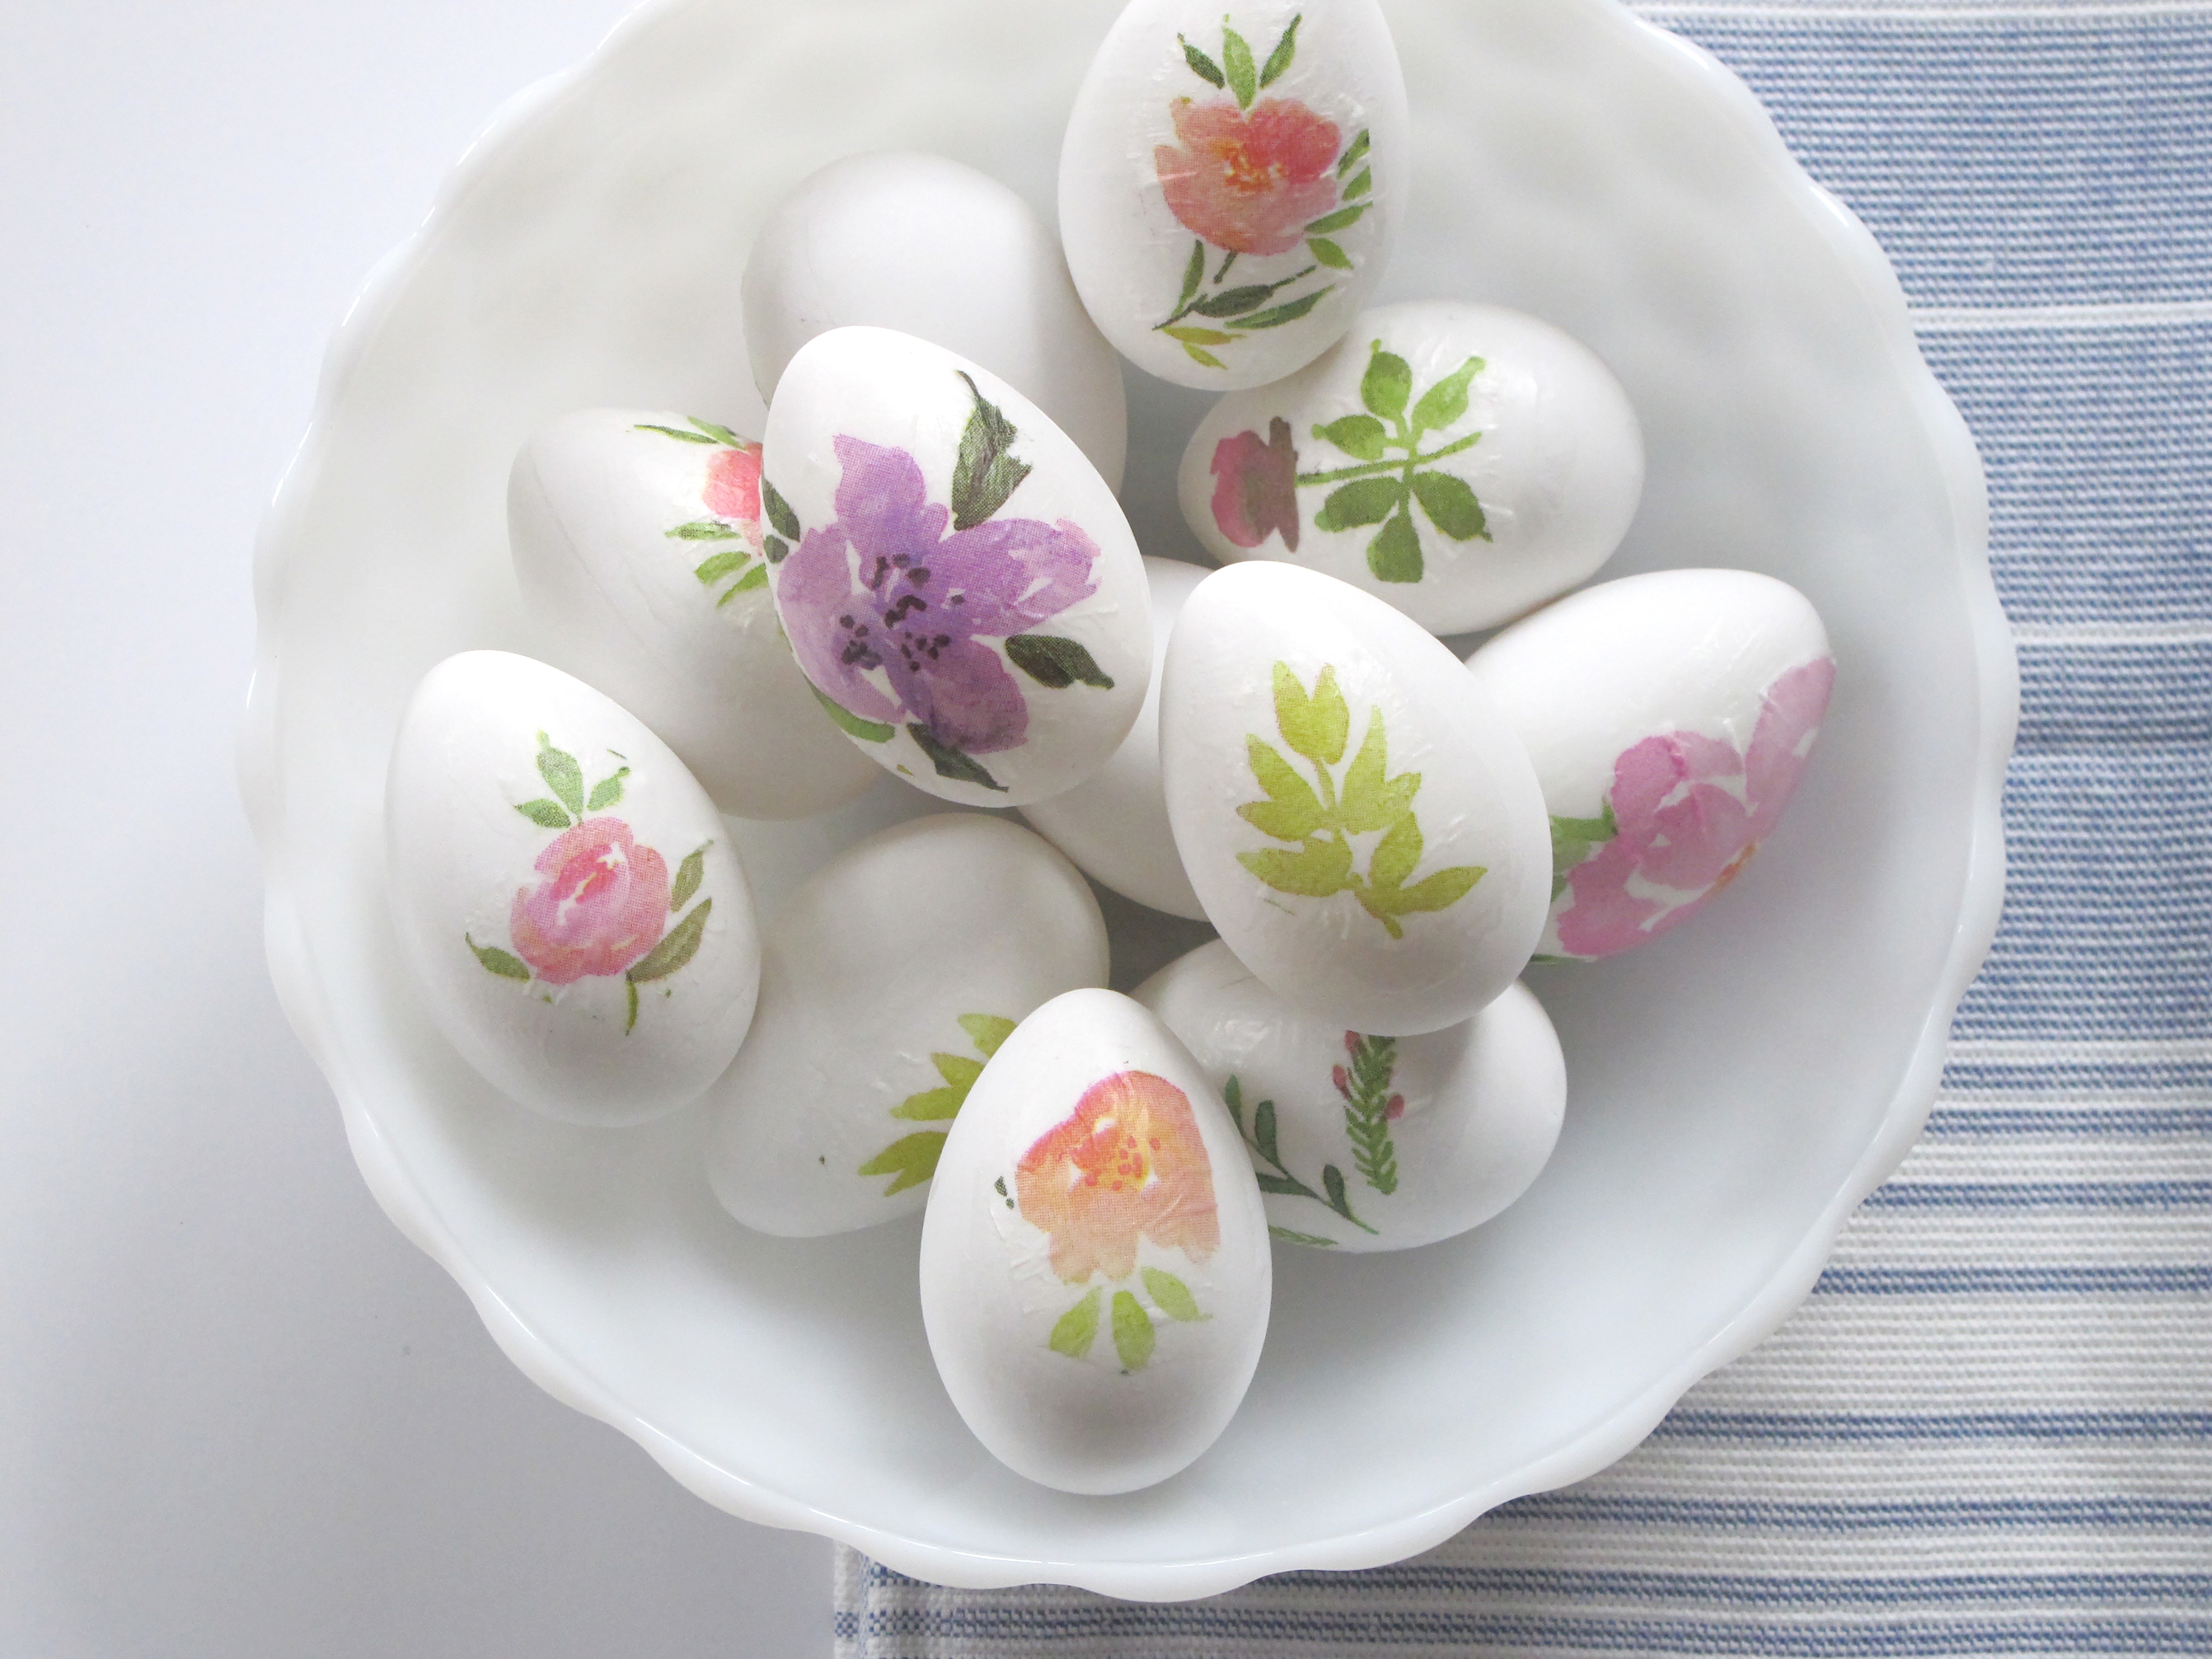
When you don't have time to dye eggs or want to try something different, try decoupaging eggs using paper napkin cut outs. It's a
great way to upcycle old plastic eggs from past Easter egg hunts.
This DIY originally appeared in a craft story I produced for The Toronto Star here in 2016, but I noticed it gaining popularity on Pinterest and realized I hadn't shared it here.
Have fun crafting!


Step 1: Gather supplies

- Decorative paper napkins with a white background
- Eggs, I used plastic but you can also use blown eggs or even wood eggs would be pretty
- Paintbrush
- Decoupage glue, I used Modge Podge, matte
- Scissors
Step 2: Cut out shapes from paper napkins

Using scissors loosely cut around the areas of the napkin you wish to use to decorate your eggs. The edges will blend into the egg surface. Napkins are made up of multiple layers. Peel away the printed top layer so that you end up with one thin piece. Thinner pieces of paper are easier to apply to the egg.
Step 3: Start decoupaging!


Using the paintbrush, apply the glue to the area of the egg you wish to decorate, and then carefully press the cut paper shape to the egg. Smooth out the paper shape from the centre outwards using your fingertips. Let dry for a few minutes.
Step 4: Apply a second coat of glue.

Using the paintbrush, apply a second coat of glue over the decorated area. This helps seal the paper to the egg. Let dry. Glue will be dry in about one hour but plan on giving the more time to dry completely.


Sources:
Faux plastic eggs, Dollarama
Paper napkins, Homesense


No comments
Thanks so much for your comments!